Chilli Crisp Recipe: An Amazing Ultimate Guide
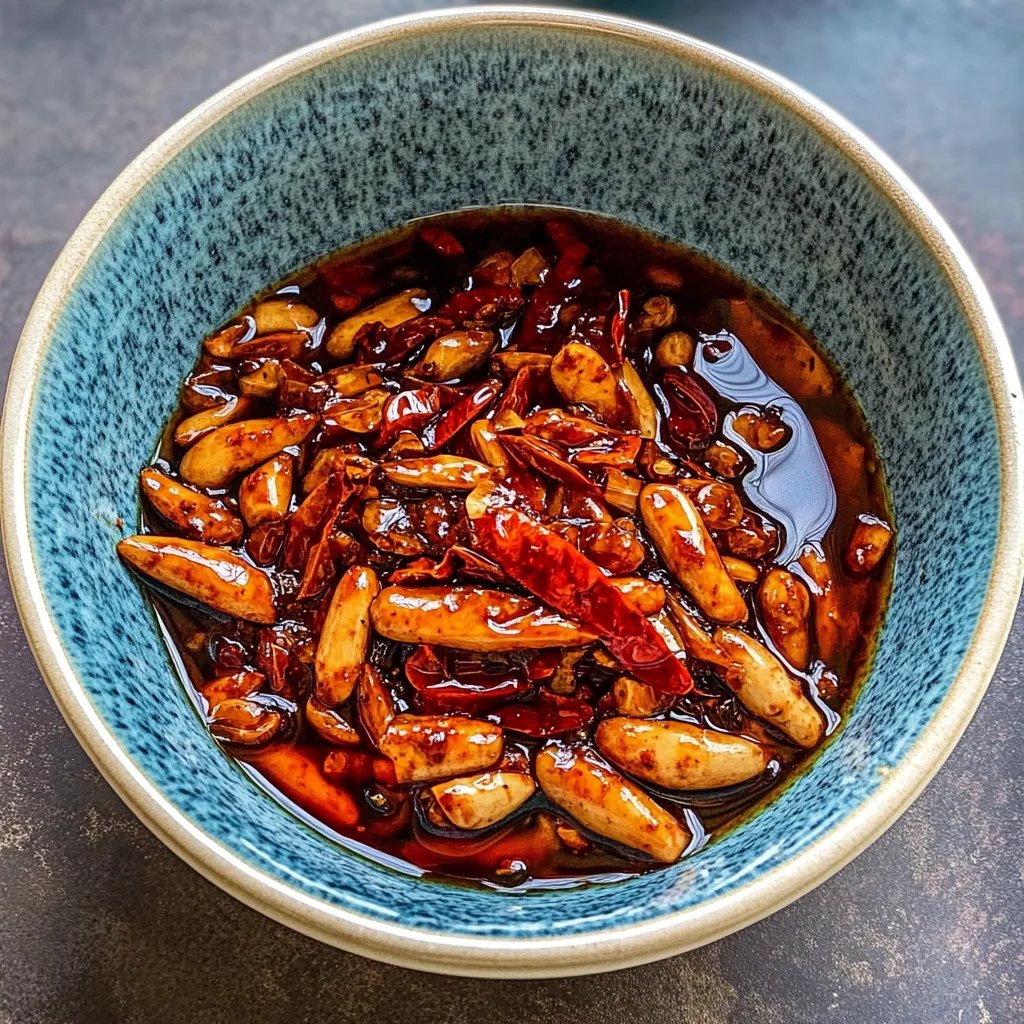
Chilli Crisp Recipe is a vibrant culinary creation that brings a delightful explosion of flavor to your meals. This popular condiment, favored by food enthusiasts around the world, adds a spicy kick and a wonderful crunch that elevates any dish. If you’ve ever tasted the magic of chilli crisp, you know the remarkable burst of flavor it delivers. It’s the kind of pantry staple that can transform mundane meals into extraordinary experiences. This article will walk you through the ins and outs of making your own chilli crisp from scratch, including what makes it so beloved, easy-to-follow instructions, and serving suggestions that will impress even the most discerning palate.
Imagine pouring a spoonful of this incredible concoction over your rice or noodles, instantly lifting them to new heights. Chilli crisp is not just a condiment; it’s a culinary sensation that brings warmth and zest to a variety of dishes. Crafting the perfect chilli crisp at home might seem daunting, but with the right ingredients and steps, it can become a delightful and satisfying experience. Are you ready to create something amazing? Let’s explore what makes this recipe so special and how you can prepare it.
Why You’ll Love This Recipe
Making your own chilli crisp allows you to customize flavors and heat levels to your liking. Here are some irresistible reasons to give this amazing recipe a try:
1. Adjustable Spiciness: You can control how hot or mild your chilli crisp will be, tailoring it to your preferences.
2. Fresh Ingredients: Homemade chilli crisp guarantees the use of fresh ingredients, resulting in vibrant flavors.
3. Versatile Uses: Use this condiment not only with Asian dishes but also in salads, sandwiches, and even on pizza.
4. Unique Flavor Profile: The combination of spices, garlic, and onion creates a flavor that is both complex and addictive.
5. Great for Gifting: A jar of homemade chilli crisp makes an excellent gift for food lovers or as a beautiful hostess gift.
6. Satisfying Cooking Experience: The process of making chilli crisp is enjoyable, allowing you to create something fabulous from scratch.
With all these factors in mind, it’s clear why this chilli crisp recipe has gained such popularity among chefs and home cooks alike.
Preparation and Cooking Time
Preparing your homemade chilli crisp takes about 30-40 minutes in total. Here’s a quick breakdown of the time required:
– Preparation Time: 10 minutes
– Cooking Time: 20-30 minutes
You’ll find that the process is quick and rewarding, making it easy to whip up a batch whenever you crave that spicy kick!
Ingredients
– 1 cup vegetable oil (or any neutral oil)
– 1/2 cup dried red chili flakes
– 1/4 cup garlic, minced
– 1/4 cup onion, minced
– 2 tablespoons sesame seeds
– 1 tablespoon soy sauce (optional)
– 1 tablespoon sugar
– 1/2 teaspoon salt
– 1 teaspoon ground black pepper
– 1 teaspoon five-spice powder (optional)
Step-by-Step Instructions
Creating your Chilli Crisp is straightforward if you follow these easy steps:
1. Heat the Oil: In a medium-sized saucepan, pour in the vegetable oil and heat over low to medium heat.
2. Add Garlic and Onion: Carefully add the minced garlic and onion to the pan, stirring continuously to prevent burning. Cook until golden and fragrant.
3. Incorporate Chili Flakes: Gradually add the dried red chili flakes into the oil. Keep stirring to ensure even cooking and to avoid any burning.
4. Cook the Mixture: Continue to cook the mixture gently for about 10-15 minutes until all the components are fragrant and the oil turns a lovely red hue.
5. Add Sesame Seeds: Toss in the sesame seeds. Stir for an additional 2-3 minutes until they are lightly toasted.
6. Seasoning: Add the sugar, salt, and black pepper. Stir well to combine and allow the flavors to meld.
7. Include Optional Ingredients: If desired, add soy sauce and five-spice powder, adjusting to taste.
8. Cool Down: Remove the saucepan from the heat and let the mixture cool completely.
9. Store: Transfer the cooled chilli crisp into a clean jar with a tight-sealing lid.
Now you have your very own homemade chilli crisp!
How to Serve
Serving your delicious Chilli Crisp can take your meals to a whole new level. Here are a few ideas on how to utilize this amazing condiment:
1. Drizzle on Noodles: Pour over your favorite noodles and stir to combine, bringing life to your dish.
2. Top Off Rice: Spoon some chilli crisp over plain rice for an exciting flavor enhancement that will delight your taste buds.
3. Use as a Dip: Serve it alongside dumplings or spring rolls as a zesty dipping sauce.
4. Mix in Dressings: Incorporate it into vinaigrettes and dressings for salads, adding an extra spicy kick.
5. Spread on Toast: Try spreading a thin layer on toast or sandwiches for a unique flavor burst.
6. Pair with Eggs: Drizzle over eggs, whether scrambled, fried, or in an omelet, for a quick, flavor-packed breakfast.
By experimenting with different dishes, you’ll discover countless ways to enjoy your homemade chilli crisp, making it a versatile addition to your culinary repertoire.
Additional Tips
– Use Quality Oils: Opt for high-quality vegetable or neutral oils to ensure a rich flavor in your chilli crisp.
– Monitor Temperature: Keep the heat low to medium while cooking. This helps prevent burning and ensures even flavor extraction.
– Adjust Spice Levels: Experiment with different types of chili flakes to find the heat level that suits you best.
– Let It Rest: Allow the chilli crisp to sit for a few hours or overnight for the flavors to meld and deepen.
Recipe Variation
Feel free to get creative with your chilli crisp! Here are some delicious variations to try:
1. Infused Oils: Experiment with different oils, such as olive oil or avocado oil, for unique flavor profiles.
2. Add Herbs: Incorporate fresh herbs like cilantro or basil to add a fresh twist to your chilli crisp.
3. Nutty Addition: Include crushed peanuts or almonds for an extra crunch and flavor enhancement.
4. Sweet and Spicy: Add a bit more sugar or even honey for a sweet counterpart to the heat.
Freezing and Storage
– Storage: Keep your homemade chilli crisp in a sealed jar at room temperature. It can last for up to a month.
– Freezing: If you want to store it longer, you can freeze portions in airtight containers. Just thaw before use.
Special Equipment
While making your chilli crisp doesn’t require special tools, a few items will make the process smoother:
– Medium saucepan for cooking
– Wooden spoon for stirring
– Clean jar for storage
Frequently Asked Questions
Can I adjust the oil quantity?
Yes, you can use a lesser amount of oil if you prefer a thicker consistency.
What if I don’t have certain spices?
Feel free to leave out spices you don’t have, or substitute them with similar options available in your pantry.
How can I make it less spicy?
Reduce the amount of chili flakes or use milder varieties.
Can I use fresh garlic and onion instead of dried?
Fresh garlic and onion can be used, but be mindful that they will change the cooking process slightly.
Is it safe to eat if I notice foam or bubbles during cooking?
Foam and bubbles are normal during cooking, especially when frying ingredients. Just keep the heat low to avoid burning.
Conclusion
Creating your own homemade chilli crisp is not only rewarding but adds an explosion of flavor to any dish you make. With the ability to customize your spice levels and the satisfaction of cooking from scratch, this condiment is a fantastic way to spice up your cooking routine. Be it a drizzle over noodles or a zesty dip alongside appetizers, homemade chilli crisp will truly elevate your meals!