Homemade Apple Crisp: An Incredible Ultimate Recipe with 5 Amazing Ingredients
Homemade Apple Crisp is a delightful treat that combines warm, tender apples with a crunchy topping. There’s something truly special about this dessert that elevates an ordinary day into a cozy experience. The combination of spices and sweetness enveloping tender apples evokes all the warm feelings of fall and makes it a comfort food favorite. When it’s baked, the aroma fills your home, making you feel instantly at ease.
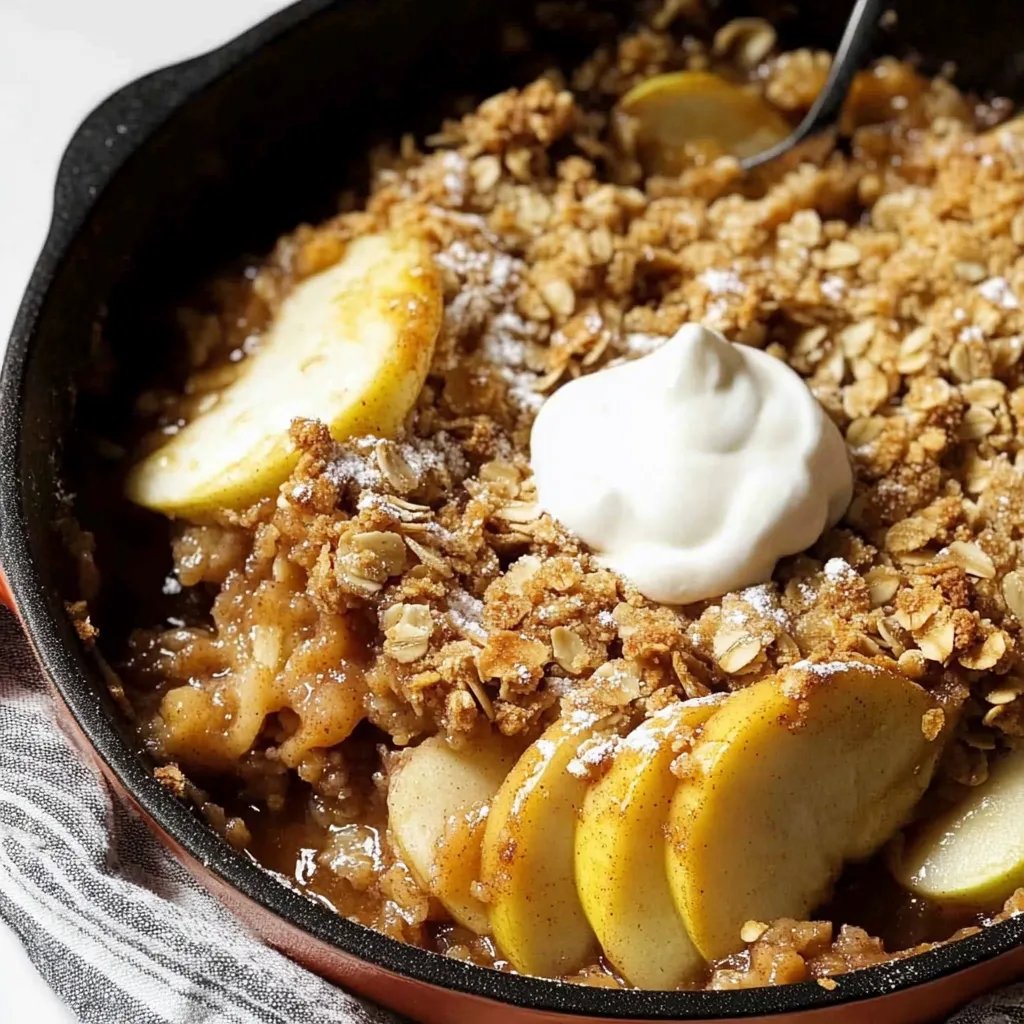
If you’ve been searching for the perfect dessert to impress your family or guests, look no further. Homemade Apple Crisp is simple yet satisfying. It’s a dish that highlights the beauty of fresh apples, layered with brown sugar, oats, and a hint of cinnamon, baked until golden and bubbling. The best part? This recipe uses straightforward ingredients that are likely already in your pantry.
Once you serve warm portions topped with vanilla ice cream or whipped cream, you’ll find it tough to resist going back for seconds. And with the crisp topping contrasting perfectly with soft, baked apples, every bite becomes a cherished memory. In this guide, we’ll explore why you’ll love this recipe, how to prepare and cook it, and some tips to serve it beautifully. Let’s dive into the amazing world of Homemade Apple Crisp!
Why You’ll Love This Recipe
Homemade Apple Crisp is more than just a dessert; it’s a comforting hug for your taste buds. Here are some reasons you’ll fall in love with this recipe:
1. Simplicity at Its Best: With minimal ingredients, this recipe is perfect for novice bakers.
2. Versatile: You can modify it by incorporating nuts, changing spices, or using different fruits, making it adaptable to your taste.
3. Seasonal Delight: Apple crisp communicates the essence of fall and is a perfect dish for family gatherings, holiday celebrations, or cozy nights in.
4. Easy to Make: The preparation is quick and straightforward, allowing you to whip it up in no time.
5. Perfect Warmed Up: It’s delightful served warm with a scoop of ice cream or a dollop of whipped cream, making it a crowd-pleaser.
Considering these factors, it’s easy to see why so many people adore this traditional dessert. The textures and flavors blend beautifully, creating an experience that embodies warmth and comfort.
Preparation and Cooking Time
Creating your Homemade Apple Crisp will take about 1 hour, encompassing preparation and baking. Here’s a detailed breakdown of the time involved:
– Preparation Time: 15-20 minutes
– Cooking Time: 30-35 minutes
– Cooling Time: 5-10 minutes
These times are approximate and may vary slightly based on your kitchen tools and experience. Understanding the time involved can help you plan accordingly!
Ingredients
– 6 cups peeled and sliced apples (such as Granny Smith or Honeycrisp)
– 1 tablespoon lemon juice
– 1 cup granulated sugar
– 1 teaspoon ground cinnamon
– 1 cup rolled oats
– ¾ cup all-purpose flour
– ⅓ cup packed brown sugar
– ½ cup unsalted butter, softened
– ¼ teaspoon salt
Step-by-Step Instructions
Making Homemade Apple Crisp is an enjoyable process that yields delicious results. Here’s how to create this delightful dessert:
1. Preheat the Oven: Begin by preheating your oven to 350°F (175°C).
2. Prepare the Apples: In a large bowl, toss the peeled and sliced apples with lemon juice, granulated sugar, and cinnamon until well coated.
3. Arrange Apples: Spread the apple mixture evenly into a greased 9×13-inch baking dish.
4. Mix the Topping: In another bowl, combine rolled oats, flour, brown sugar, and salt. Mix well.
5. Add Butter: Cut in the softened butter until the mixture resembles coarse crumbs. You can use a pastry cutter or your fingers for this task.
6. Top the Apples: Sprinkle the oat mixture evenly over the apples in the baking dish.
7. Bake: Place the dish in the preheated oven and bake for 30-35 minutes, or until the top is golden brown and the apples are tender.
8. Cool Slightly: Remove the apple crisp from the oven and let it cool for about 5-10 minutes. This allows the juices to settle.
9. Serve: Serve warm for the best experience.
These steps will guide you in crafting an incredible Homemade Apple Crisp that will have everyone gathering around for more!
How to Serve
When it comes to presenting your Homemade Apple Crisp, here are some delightful suggestions to enhance the serving experience:
1. Warm It Up: Serve the apple crisp warm directly from the oven for the best flavor and texture.
2. Add a Scoop: Top each serving with a generous scoop of vanilla ice cream or a cloud of whipped cream for a rich complement to the dessert.
3. Garnish: A sprinkle of cinnamon or a drizzle of caramel sauce can elevate the presentation and flavor.
4. Pair with Beverages: This dessert pairs wonderfully with hot apple cider or a steaming cup of tea to enhance the autumnal feel.
5. Present in Individual Portions: For a more elegant approach, consider serving in ramekins for a more personalized touch.
By incorporating these serving ideas, you can create an unforgettable experience that highlights the amazing flavors of your Homemade Apple Crisp. Enjoy!
Additional Tips
– Use Fresh Apples: Choose firm and flavorful apples for the best texture and taste. Granny Smith, Honeycrisp, or Fuji apples are excellent choices.
– Experiment with Spices: Consider adding nutmeg or ginger for an extra kick of flavor. A dash of vanilla extract can also enhance the overall taste.
– Brown Sugar vs. White Sugar: Feel free to mix brown sugar with white sugar; this gives a deeper flavor and better caramelization when baking.
– Don’t Overmix: When combining the topping ingredients, ensure that you don’t overmix. This helps maintain the crumbly texture of the topping.
– Serve with Complements: In addition to ice cream or whipped cream, consider serving your apple crisp with a drizzle of caramel sauce or a sprinkle of nuts for added texture.
Recipe Variation
Feel free to add your personal touch! Here are a few variations to consider:
1. Berry Apple Crisp: Mix in fresh berries like blueberries or raspberries with the apples for a fruity twist.
2. Nutty Additions: Stir in chopped nuts, such as walnuts or pecans, into the topping for additional crunch.
3. Whole Wheat Option: Substitute half of the all-purpose flour with whole wheat flour for a slightly healthier, nuttier flavor.
4. Coconut Crisp: Mix in shredded coconut into the topping or layer some on top for a delightful twist.
5. Apple-Pear Crisp: Combine apples with sliced pears for an intriguing mix of flavors and textures.
Freezing and Storage
– Storage: Keep your Homemade Apple Crisp covered in an airtight container. It lasts about 3-4 days in the refrigerator, keeping the topping crisp.
– Freezing: You can freeze individual servings or the entire dish. Store it in a well-sealed container or wrap it tightly with plastic wrap or aluminum foil. It will be good for up to 3 months.
– Reheating: To reheat, bake in the oven at 350°F (175°C) for about 10-15 minutes until warm throughout. You can also reheat in the microwave for a quicker option.
Special Equipment
To make your Homemade Apple Crisp, you’ll need a few essential tools:
– Mixing Bowls: For combining the apple mixture and the topping.
– 9×13 Inch Baking Dish: This is the ideal size for baking your crisp evenly.
– Cutting Board and Knife: Useful for slicing apples.
– Measuring Cups and Spoons: To accurately measure your ingredients.
– Pastry Cutter or Fork: For cutting in the butter to the dry ingredients, if desired.
Frequently Asked Questions
Can I use frozen apples for this recipe?
Yes, you can use frozen apples, but be aware that they may release extra moisture. Consider reducing the sugar slightly to compensate.
Is Homemade Apple Crisp gluten-free?
You can easily make it gluten-free by substituting the all-purpose flour with a gluten-free flour blend.
What type of apples work best?
Firmer apples such as Granny Smith or Honeycrisp hold their shape well during baking, making them perfect choices.
Can I make this dessert ahead of time?
Absolutely! You can prepare the apple mixture a day in advance and store it in the refrigerator. Assemble and bake on the day of serving for optimal freshness.
What’s the best way to store leftovers?
Keep your leftovers tightly covered in the fridge for up to four days. You can also freeze them for longer storage as mentioned above.
Conclusion
Homemade Apple Crisp is not just a dessert; it’s a nostalgic comfort that brings warm moments to any table. With its intriguing blend of flavors, delightful textures, and comforting aroma, this dessert is sure to impress your family and friends. Whether you enjoy it warm, adorned with ice cream or drizzled with caramel, each bite will transport you to a cozy fall day. Try this incredible recipe and create cherished memories with your loved ones!