Olive Garden Breadsticks Recipe: The Amazing Ultimate Copycat
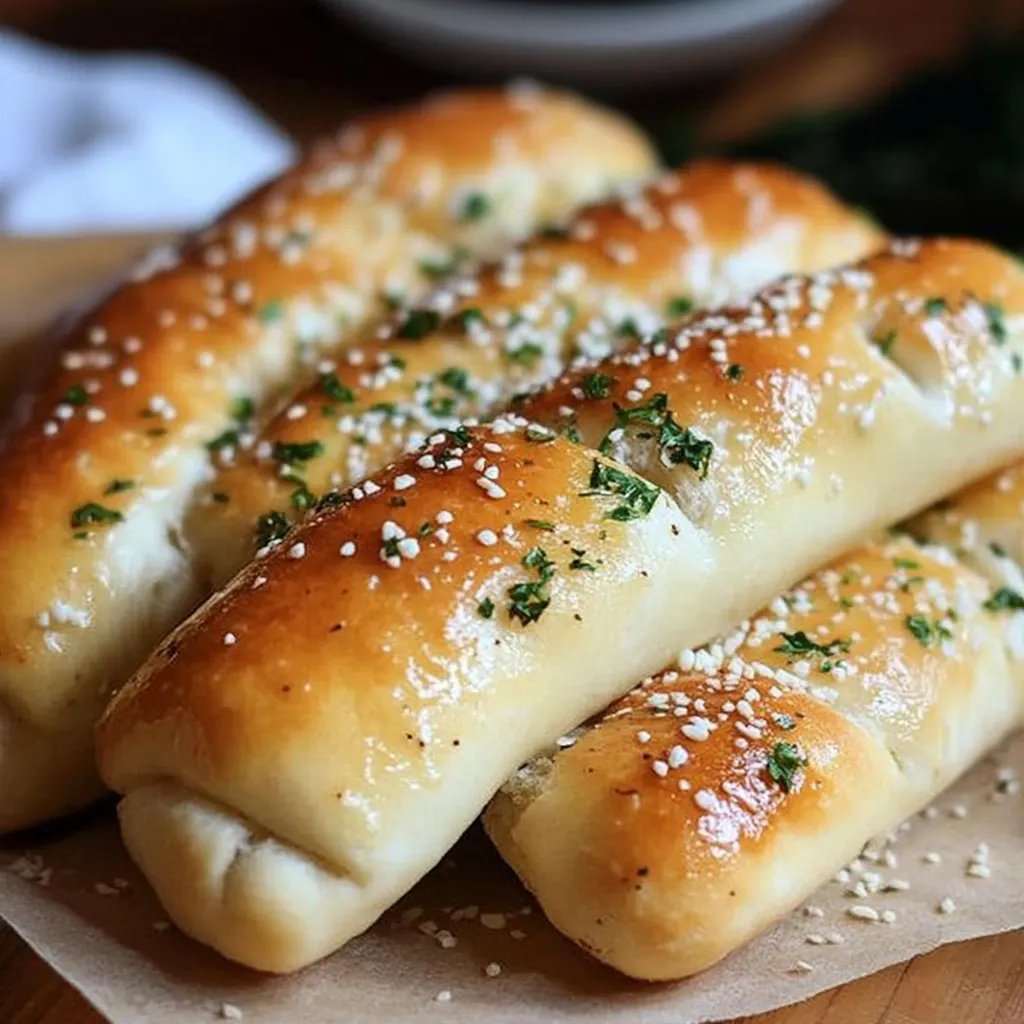
Olive Garden Breadsticks Recipe is a fantastic way to recreate those warm, buttery delights right in your kitchen. If you’ve ever dined at Olive Garden, you know just how special their breadsticks are. They are soft, fluffy, and come generously brushed with garlic butter that makes every mouthful a bite of heaven. Whether enjoyed with your pasta or on their own, these breadsticks have a way of stealing the show.
The journey to perfecting this copycat recipe is not just about replicating a beloved dish; it’s about creating an experience that mirrors the ambiance of the restaurant in your home. Imagine serving fresh, warm breadsticks at your next family gathering or dinner party. With this amazing recipe, you can indulge in the incredible flavors of Olive Garden without leaving your home.
In this article, we will explore why this Olive Garden Breadsticks Recipe is a must-try, guiding you through preparation steps, cooking times, and the ingredients you’ll need. So grab your apron and get ready to impress your family and friends with these delightful breadsticks!
Why You’ll Love This Recipe
Making Olive Garden Breadsticks at home brings an array of benefits that you’re sure to appreciate. Here are a few reasons why you’ll fall in love with this recipe:
1. Quick and Easy: It takes only about 1 hour to make these delicious breadsticks from start to finish.
2. Simple Ingredients: Most of the ingredients are pantry staples, meaning you won’t need to make a special trip to the store.
3. Perfect for Sharing: These breadsticks are excellent for family gatherings, date nights, or simply as a side with your favorite meal.
4. Wonderful Flavor: The combination of garlic butter and fluffy bread gives you that authentic Olive Garden taste.
5. Customizable: Feel free to adjust for dietary preferences, whether that’s gluten-free flour or adding cheese for extra flavor.
6. Impressive Presentation: Freshly baked breadsticks serve beautifully on a platter, quickly becoming a centerpiece of your meal.
With benefits like these, it’s easy to see why making Olive Garden Breadsticks at home could become a new favorite in your cooking repertoire.
Preparation and Cooking Time
In total, preparing the Olive Garden Breadsticks will take about 1 hour, which includes preparation, rising time, and baking. Here’s a breakdown of the time required:
– Preparation Time: 10 minutes
– Rising Time: 30 minutes
– Cooking Time: 20 minutes
These times may vary slightly depending on your experience in the kitchen, but this framework should provide a good estimate for anyone eager to recreate this amazing dish.
Ingredients
– 2 ½ cups all-purpose flour
– 1 cup warm water (about 110°F)
– 2 tablespoons granulated sugar
– 1 tablespoon active dry yeast
– ½ teaspoon salt
– 3 tablespoons unsalted butter, melted
– 2 tablespoons garlic powder
– ¼ cup grated Parmesan cheese (optional)
– ¼ cup unsalted butter (for brushing)
– 1 teaspoon garlic salt (for topping)
– Fresh parsley, chopped (for garnish, optional)
Step-by-Step Instructions
Creating the Olive Garden Breadsticks can be straightforward if you follow these simple steps:
1. Activate Yeast: In a mixing bowl, dissolve the sugar in warm water. Sprinkle the yeast over the top and let it sit for about 5-10 minutes until it becomes frothy.
2. Mix Dough: Add 2 cups of flour, salt, and melted butter to the yeast mixture. Stir until well combined. Gradually add the remaining flour until a dough forms.
3. Knead Dough: Dust a clean surface with a little flour and knead the dough for about 5 minutes, until smooth and elastic.
4. First Rise: Place the dough in a greased bowl, cover it with a clean towel, and let it rise in a warm area for about 30 minutes.
5. Preheat Oven: About 10 minutes before the dough is ready, preheat your oven to 400°F (200°C).
6. Shape Breadsticks: Once risen, punch down the dough and divide it into 12 equal portions. Roll each piece into a breadstick shape, about 7 inches long.
7. Second Rise: Place the shaped breadsticks on a greased baking sheet. Cover with a towel and let them rise for another 10-15 minutes.
8. Prepare Topping: In a small bowl, mix the melted butter with garlic powder. If using, add grated Parmesan cheese.
9. Bake: Bake the breadsticks in the preheated oven for 15-20 minutes or until golden brown.
10. Brush with Butter: As soon as you take the breadsticks out of the oven, brush them with the garlic butter mixture and sprinkle with garlic salt.
11. Garnish: Optionally, sprinkle chopped parsley on top for a fresh touch.
With these simple steps, you’ll have fresh and delicious Olive Garden-style breadsticks in no time!
How to Serve
To make the most out of your Olive Garden Breadsticks, consider the following tips when serving:
1. Presentation: Serve warm breadsticks in a breadbasket lined with a cloth napkin to keep them warm.
2. Dipping Sauces: Offer marinara sauce, alfredo sauce, or a simple garlic-infused olive oil for dipping.
3. Pairing with Dishes: These breadsticks pair wonderfully with a salad, pasta, or even soup—making them a versatile addition to any meal.
4. Fresh Herbs: Garnish with additional parsley or even a sprinkle of Italian seasoning for extra flavor.
5. Warmth: Ensure they are served warm for the best flavor and texture. If they cool, you can reheat them briefly in the oven.
By following these tips, you’ll elevate your dining experience, making these Olive Garden Breadsticks a hit at your next gathering! Enjoy the warmth and joy they bring to your table!
Additional Tips
– Use High-Quality Butter: Opt for unsalted butter to control the salt in the recipe better. This will enhance the flavor of your breadsticks significantly.
– Experiment with Flavors: Don’t hesitate to try adding different seasoning blends or herbs like rosemary or oregano for a unique twist.
– Keep Dough Warm: When allowing the dough to rise, find a warm spot in your kitchen. This helps it rise properly and results in fluffier breadsticks.
Recipe Variation
Get creative with these Olive Garden Breadsticks Recipe variations:
1. Cheesy Breadsticks: Incorporate shredded mozzarella or cheddar cheese into the dough for a cheesy delight.
2. Herb-Infused: Add fresh, chopped herbs like basil or thyme into the dough for an aromatic flavor.
3. Whole Wheat Version: Substitute half of the all-purpose flour with whole wheat flour for a healthier option.
Freezing and Storage
– Storage: Keep your leftover breadsticks in an airtight container at room temperature for up to 2 days.
– Freezing: Wrap the breadsticks tightly in plastic wrap or aluminum foil and place them in a freezer-safe bag. They can be frozen for up to 3 months. When ready to serve, thaw them at room temperature before reheating.
Special Equipment
To make these Olive Garden Breadsticks successfully, gather the following tools:
– Mixing bowls
– Measuring cups and spoons
– Rolling pin (optional, for shaping)
– Baking sheet
– Clean kitchen towel for covering the dough while rising
Frequently Asked Questions
Can I make the dough in advance?
Yes, you can prepare the dough ahead of time and refrigerate it for up to 24 hours. Just make sure to bring it back to room temperature before shaping and baking.
What should I do if the yeast doesn’t foam?
If the yeast doesn’t foam during activation, it may be expired. It’s essential to use fresh yeast for the breadsticks to rise.
Can I use instant yeast?
Yes, you can replace active dry yeast with instant yeast. There’s no need to activate it beforehand; just add it directly to the dry ingredients.
Can I add toppings to the breadsticks?
Absolutely! You can sprinkle sesame seeds, everything seasoning, or additional cheese on top before baking for added flavor.
Are these breadsticks suitable for a vegan diet?
You can easily adapt this recipe to be vegan by substituting the butter with plant-based alternatives and using non-dairy milk.
Conclusion
The Olive Garden Breadsticks Recipe is perfect for anyone wishing to enjoy a warm, savory treat at home. With its buttery flavor and delightful texture, this copycat recipe captures the essence of the beloved restaurant breadsticks. It’s quick, easy, and a surefire way to impress your family and friends. Get ready to pull these hot, fluffy breadsticks out of the oven and watch them disappear in moments!